Basic Wire Joining
Aug 2016
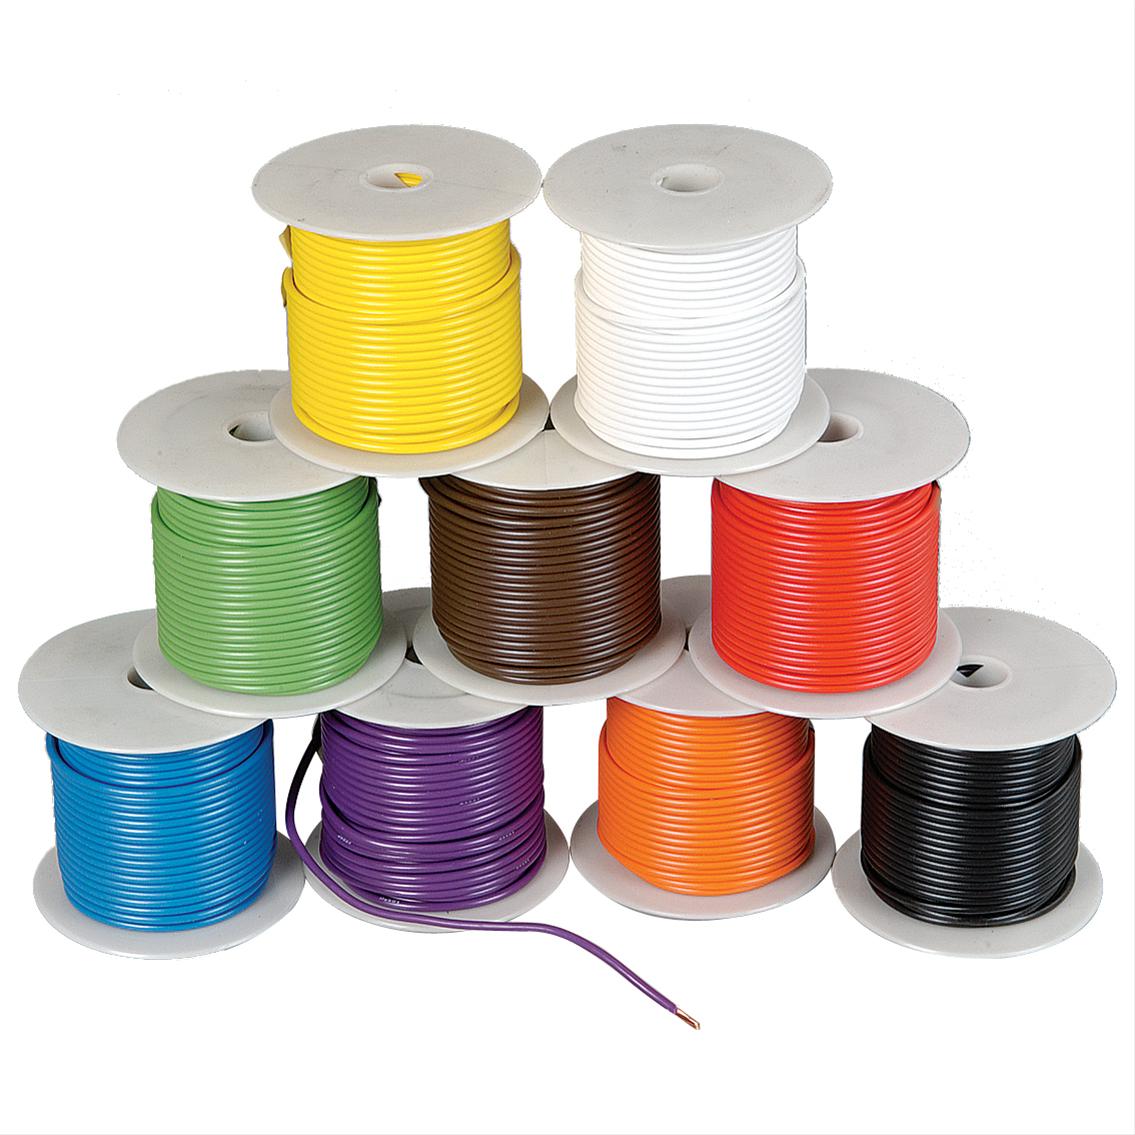
In this post we will show you how to join and extend wires, we will be using a low power application for our example such as a telephone line (5V DC) or audio speaker cabling.
What diameter of wire (likely copper) is appropriate for your purpose? Well it depends entirely on the maximum current the wire is designed to transmit. Generally speaking low current applications use a narrow wire, whereas high current applications require a large diameter wire. See this guide for more info.
You will need:
Wire
Wire strippers and cutters
Solder
A soldering iron
Heat shrink or electrical tape
Heat gun (or the soldering iron will also suffice)
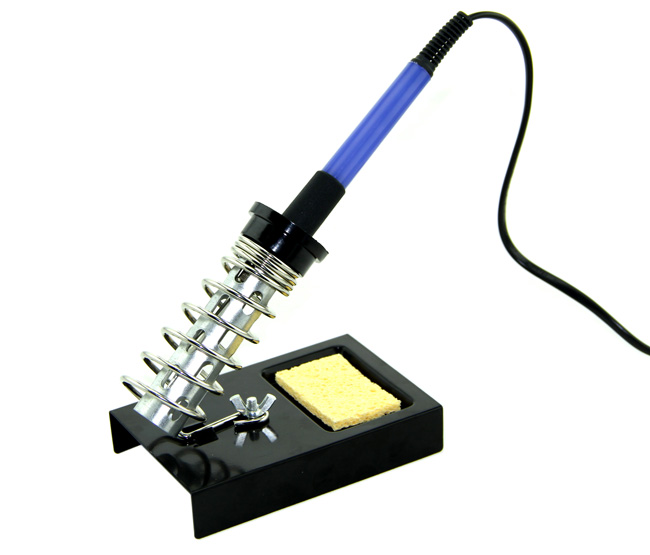
Step 1: Prep your workspace
You want to set up on a flat non conductive surface, a wooden desk bench or table is suitable. Cover the surface with something to protect it from excess flux and solder. A few layers of newspaper usually suffices. Turn on your soldering iron and allow a few minutes for it to heat up to its operating temperature. Make sure the tip of the soldering iron is safely housed in the stand so that it doesn’t burn anything.
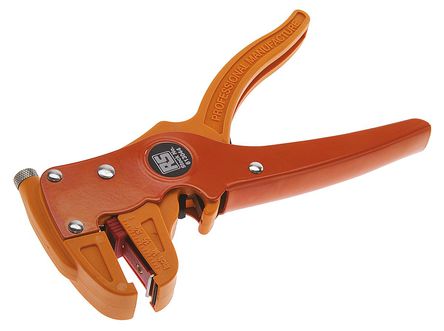
Step 2: Strip the wires
Measure out the length of wire that you would like to use to join to the existing wire. Cut the wire at this length allowing a little extra for the joint. Now you need to get the wires ready to be joined, so we need to remove the outer insulation covering the wire. Place the wire into your wire strippers and squeeze the handle. You should strip between 5 – 40 mm of insulation depending on how much wire is required for the join.
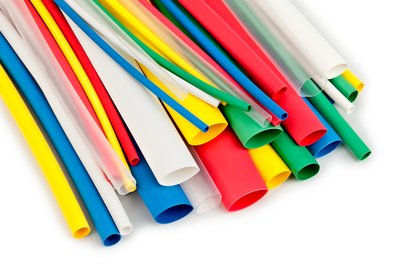
Step 3: Prep the heatshrink (optional)
If you are joining two wires together that are already attached on their other ends, and you don’t want to disrupt these joints, then its time to insert heatshrink, because once the joint is formed it will be too late to put the heatshrink on. If one of the wires has an open end, then dont worry because we can thread the heatshrink on later.
It is common practice to double or triple insulate wires and joints. In your heatshrink set/collection first find the lowest diameter heatshrink (of matching / appropriate colour if required) that can fit over the wires. Cut off a section of this heatshrink and thread it onto the wire. Ensure that it is long enough to cover the soldered joint and reach both sides of the insulation. Now cut a longer section of heatshrink that is slightly larger in diameter than the last, and thread this onto the wire. We require generally use a large diameter heatshrink because this piece is designed to go over the first one. Repeat this last step if the wire/joint requires triple insulation.
Step 4: Tan the wires
Tanning a wire readies it for solder connection.
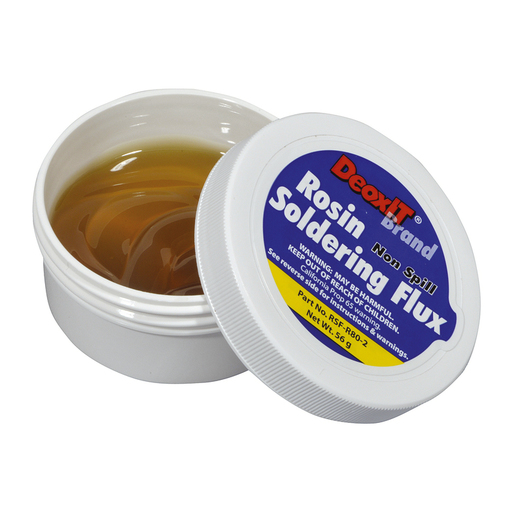
To tan a wire heat the wire for a few seconds using the tip of the soldering iron, once hot melt some flux (or if you dont have flux just use some solder, which contains flux in the core) onto the wire.
**Note:
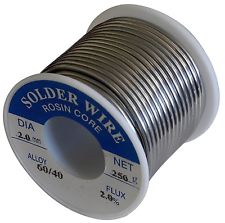
Electrical solder is commonly composed of Tin (Sn) : Lead (Pb) at ratio 60:40, and contains a flux / resin core. The temperature of the soldering iron will liquify the lead but shouldn’t be hot enough to vaporise the lead, however it is still important to avoid inhaling the fumes produced during soldering.

Step 5: Join the wires
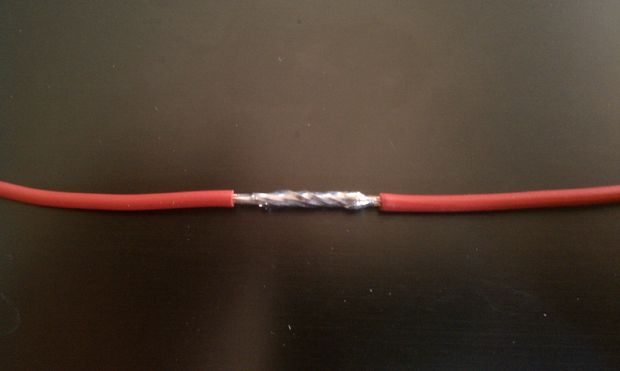
We can join the wires side to side for normal applications. However if the joint has to be resistant to tension, then we can use a hook join. In a hook join both ends of the joining wires are looped through one another and the end of the wire is soldered back to itself, the soldered joint should close the loop so that it cant move around.
We wont be able to simultaneously hold the two wires and apply the solder and hold the soldering iron. So we need to use a desk vice or clamp (or clip or peg) for assistance. If none of those are available you can use a trick i like to use; get a pair of pliers and put a rubber band around the handle so that it stays clasped tightly, and use that to hold and position one wire. So now we can use one hand to hold the soldering iron and the other to hold the other wire (or the solder).
Since the wires have been tanned they should cooperate nicely now we come to join them together. Now that the two wires are in position melt some solder onto the joining interface. As the solder melts it will tend to migrate towards heat, using this principle, quickly but lightly, work the solder into position for a good join (or so that complete coverage is achieved). Once this is done immediately remove the soldering iron from the join, allowing the joint to cool and in doing so form a solid permanent bond. Heating the wire/s or solder for too long is undesirable because the heat will transfer through the wires where it may damage the electrical/electronic components attached to the other ends, loosen solder bonds, melt the surrounding wire insulation, or burn the housing. So use as little heat as possible.
Step 6: Clean up the joint
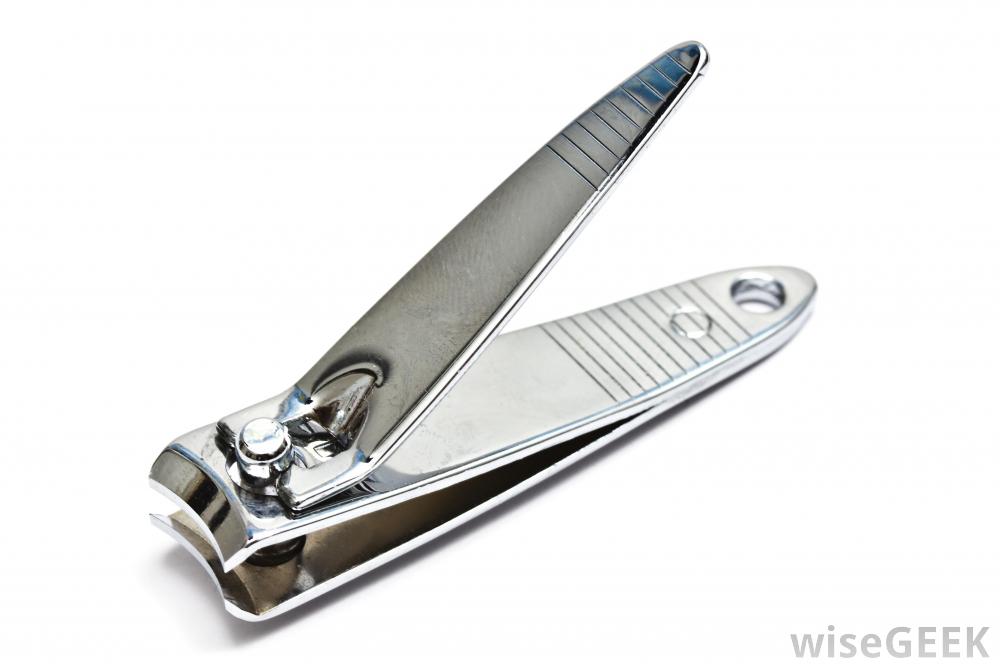
There is likely to be some excess solder or excess wire at the ends. You can remove this in order to obtain a clean tight joint. Cut off any excess material using wire cutters, tin snips, or the cutting edge on pliers. Nail clippers can also be used, and because they are smaller and lighter, tend to work better for smaller jobs, and produce neater results.
Step 7: Heatshrink the joint
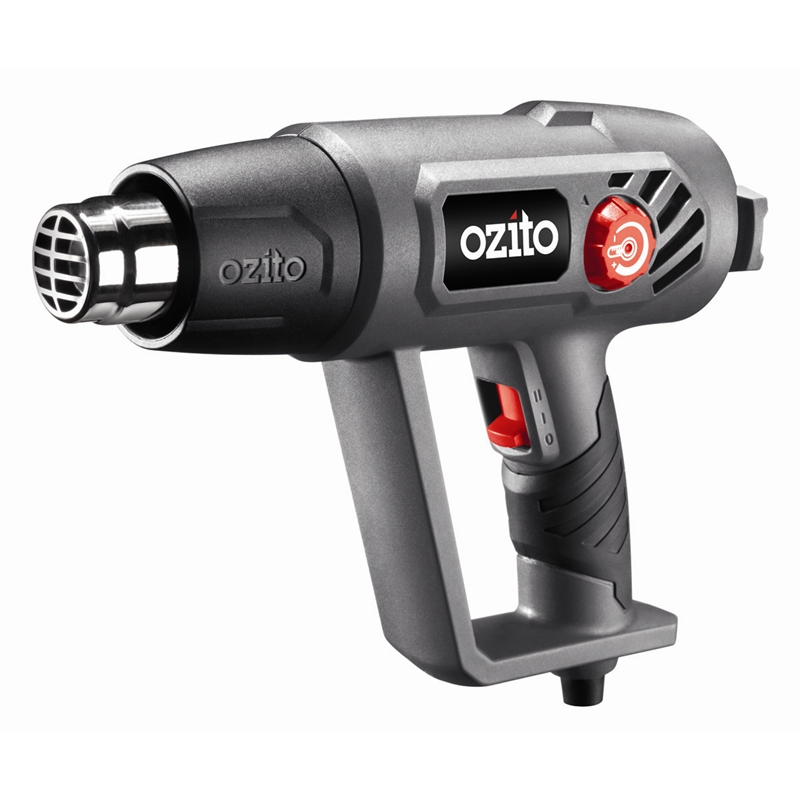
To insulate the joint that we have just created, we need to cover the exposed metal. If you skipped step 3 go back and do it now. We work from tightest to loosest fitting heatshrink so once the narrowest diameter heatshrink is in place over the joint apply heat to it in order to activate it. The preferred method is with a heat gun, which blows hot air, however if you don’t have a heat gun you can simply use your solder iron instead, but care must be taken not to damage the heat shrink. Now repeat this step using the next tightest fitting heatshrink.
After you have finished soldering clean the tip of the soldering iron whilst its still hot with a damp sponge.

And that’s about it, another job well done. Stay tuned to our blog for more interesting posts. Please comment, and let us know if you have any ideas for future topics.